Showing posts with label sweet. Show all posts

Saturday, July 3, 2010

Spongecake


First time I made this cake it came out so good. The second time, it was even better. Spongecake seems to mean exactly what it's called. The batter itself was very springy and sponge like and so is the finished product. Anyways, I have to add, the first time I made this recipe, I really wanted to make a twinkie replica and I came pretty close if I hadn't underestimated my oven (the cakes were a little crunchy on the corners, almost burnt). As for the filling, it came close if I had just kept mixing in the little sugar that I did put into the marshmallow fluff. Because I didn't you could taste the fine granules of the sugar I put in. Plus, I probably should have used confectioners sugar and not home-made fine sugar.

Spongecake

6 small eggs separated
1 cup sugar
1 tsp vanilla
1/4 cup cold water
1 cup cake flour
1 tsp baking powder

Mix the egg yolks and sugar until fluffy. Add water and vanilla and mix for a couple of seconds. Take the cake flour and baking powder and sift thouroughly. Afterwards, add flour mixture to egg yolk mixture and mix well. With a clean whip, beat the egg whites until stiff and fold into the flour-yolk mixture. Make sure you don't over mix it and instead fold it because it can cause the batter to deflate which won't make a very springy cake.

Sunday, May 16, 2010

Brownies


OMG, I just made the awesomest brownies. It was sooo good I burned my tongue eating it and I did not care. Too good to spit out.

Brownies

1 cup butter, melted
1 1/2 cups white sugar
1 1/2 cups brown sugar
1 tablespoon vanilla extract
6 small eggs or 4 large eggs
1 1/2 cups all-purpose flour
1 cup unsweetened cocoa powder
1 teaspoon salt
3/4 cup semisweet chocolate chips

Preheat oven to 350 degrees F. Line the container you will use with parchment or grease it.
Combine the melted butter, sugar, and vanilla in a large bowl. I have chickens that produce my eggs so I always have them at hand.


They're pretty small in comparison to eggs from the store so I end up using 6 for this recipe but if you have regular eggs, use 4. Anyways, beat in the eggs, one at a time and mix well until well blended. Take the flour and sift it along with the cocoa power and salt. Gradually stir the flour mixture into the chocolate mixture until blended.


Now what makes these brownies so amazing is that the central layer of the brownies consist of gooey chocolate chips. In order to do this, take your batter, spread a small amount on the pan. This will consist of your thin layer of chocolate. Sprinkle the chocolate chips evenly over the first layer of batter. Add another layer on top and cover the morsels. It was a little bit trickly because I used parchment paper but I did not want the brownies to stick to the pan. Not to mention I was too lazy to whip out some butter to grease the pan with(hehehe).


If you are using a large deep pan, the brownies will take a longer time cook in comparison to if you cooked it with a small shallow pan. The dish I used was a shallow dish therefore it cooked in about 15 minutes. A good way to know is to stick a toothpick in there and when it comes out clean, it's cooked. Another thing I learned though, it seems that when you smell the brownies, if it smells intensely good, that's about the right time it's done. It reminded me of pineapples. When you sniff the fruit and it smells very strongly of pineapple, that's when it's ripe.

By the way, let the brownies cool once it's done and cut into desirable pieces.

Mochi


When I went to Little Tokyo I went to a small store that sold all kinds of mochi. If you don't know what mochi is, it's a sticky rice dessert that is sometimes filled with something and sometimes not. Back then I never thought that you could make your own mochi. Well here it is, I made some mochi filled with peanut butter and I must admit it's one of the best. I also made some with Nutella and that was good. I tried using purple yam but it was too soft to keep it in the sticky rice. By the way, make sure you use the Mochiko brand. It's one that's in the box. Well, you can use another type of brand but it seems you have to mix it with another type of flour. For the sake of this recipe I only used the glutinous rice flour.

Mochi

1 1/2 cup Mochiko flour
1 cup sugar
1 1/2 cup water
1 tsp vinegar

3 tbsp cornstarch or potato starch
3 tbsp of confectioners sugar or in my case fine sugar

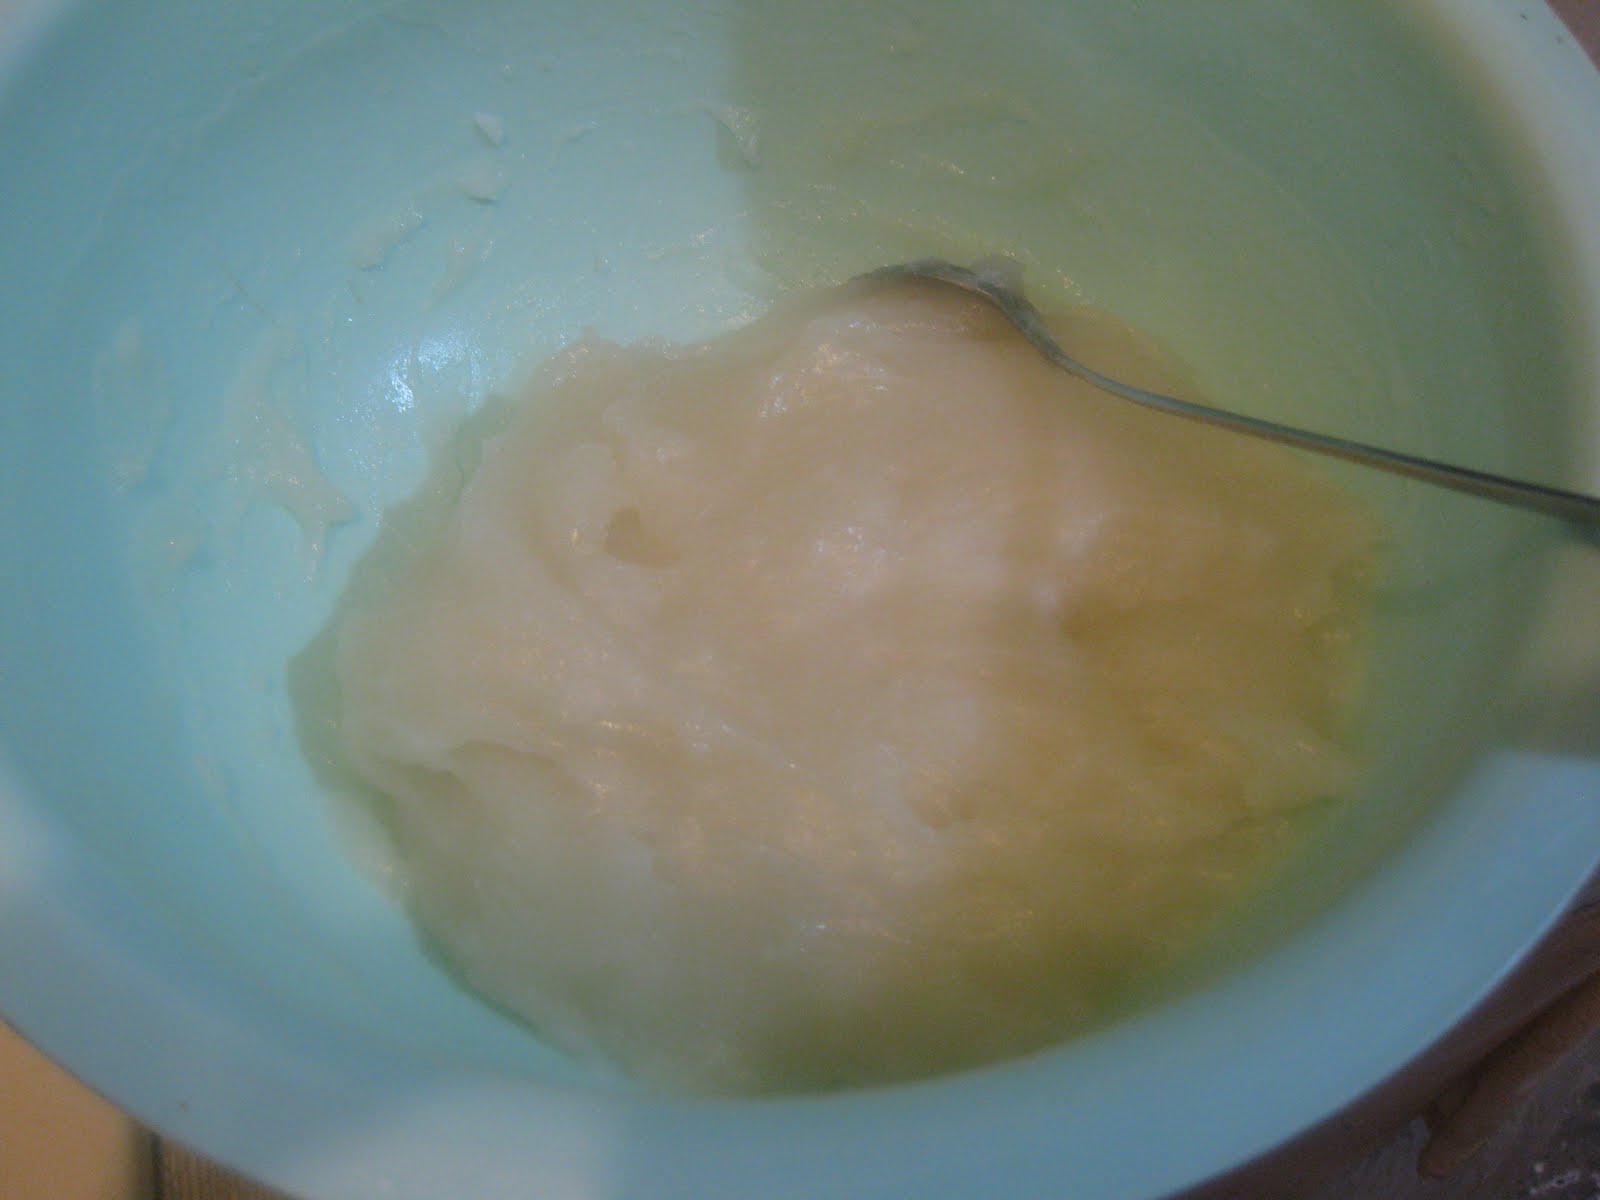
Mix the 3 tbsp of cornstarch and 3 tbsp of confectioners sugar and set aside. Take the Mochiko flour, sugar, water and vinegar, mix them together in a microwave safe bowl. Cover with a wet paper towel and place in the microwave between 8 to 10 minutes depending on your microwave. After 5 minutes, check the mixture and mix with a spoon to ensure that it cooks evenly. Personally, it took my mixture around 7 minutes and 30 seconds.


Anyways, ofcourse its going to be sticky to handly and that's why you will need a clean surface sprinkled with the cornstarch mixture to work with the mochi. place a small amount that you can handle on your kneading surface and sprinkle more cornstarch mixture. Flatten with a rolling pin or a circular cup and cut out small at least two circular shapes (or whatever shape you want).


Place a small amount of filling on one piece and cover with another. Pinch the edges to close and enjoy.

Sunday, February 21, 2010

Pinisi - Twisted Donuts


This is a Filipino dessert and it is one of the best. My mom used to make this when I was a kid and here I am making it myself. It's the awesomest cycle ever. Another thing to mention, making this beats buying them from the store. One, they have better ingredients because you won't skimp out on anything and you can customize it if you feel that its lacking sugar or salt.

However, for the sake of this dessert, the sugar and salt proportions are good. This bread is sprinkled with some form of sugar therefore it does not need any other modifications. It's fried too so adding more butter is not necessary. Oh, if you haven't noticed, the bread recipe is very similar to other bread recipes I posted. That is because, this recipe is super easy and super versatile so look forward to other bread recipes that have this as the main ingredients or even the same recipe just with a twist.

Pinisi

1 package of active yeast
1 cup lukewarm water
7 1/2 tsp sugar
1/4 cup milk
4 tbsp butter (the way I did it was, I used my two fingers and measure it that way)
1/8 tsp salt
3 cups flour and some for kneading (about 1/2 cup)

Take the warm water and add into it the active dry yeast and sugar. Set aside to activate. This'll take about ten to 15 minutes. For me, the doubling in mass is the indication is good. The important thing is that it starts forming foam because
that's how you know that the yeast is viable.

Add the milk, salt and melted butter to the yeast mixture and lightly mix. Add your liquid mixture to a large bowl with exactly 3 cups of flour and mix for five minutes with a wooden spoon. Now, keep in mind that the dough is going to be very sticky but that's ok. In fact, it's good because the bread won't be so tough. Instead, it will be soft and great. Another thing to note is that you have to work with this dough very fast. Sprinkle some flour on your work surface and place a portion of the dough (about a palmful) to which will have to roll between your hands and long stretched dough. Once long enough, hold the center and grab one of the end piece and spin around the other. Place this on a greased pan, cover with a wet towel or wet paper towel and let it rise in a warm area.


This should take about an hour. If you're wondering who those two are, they're my brothers. The one wearing green is Mark while the smaller one is Matthew.


Once doubled in size, deep fry until golden brown and sprinkle some white sugar, a mixture of white sugar and cinnamon or parmesan cheese.

Chocolate Truffles


During Christmas, a close friend of my mother gave us chocolate truffles as a present. It wasn't the first time I ate truffles. In fact it was probably the second or third time. But it wasn't until now I was able to make them. With that said I treaded on a journey to find the exact recipe. This isn't exactly what I had eaten but it is worth remembering. Plus, these were my first attempt to making my own chocolate.

Chocolate Truffles

1 8 ounce package of cream cheese
3 cups semisweet chocolate
3 cups confectioners sugar
2 tsp vanilla extract

Take the cream cheese and cream it until smooth with a mixer. Melt the chocolate in a double boiler and incorporate this into the cream cheese. Slowly pour in the confectioners sugar and the vanilla extract. Cover chocolate and refrigerate for one hour to make sure it's manageble. But let me tell you, it wasn't a hassle even if I was working with it for a good thirty minutes. Once, that's good, with your hands, form little balls and coat them with crushed nuts or cocoa powder. Personally this was really sweet so I made super small, literally one/two bite pieces and coated them in three batches of different ingredients. I used crushed cashews, crushed almond cinnamon and cocoa powder. I liked the cocoa powder the most because it competed witht he sweetness of the chocolate.

By the way, this is a fun activity to do with children. I did it with my younger brothers and they loved it.

Enjoy!

Thursday, February 11, 2010

Snickerdoodles


It's going to be Valentine's Day and my little brother has to bring something to his school tomorrow. There are cupcakes and sweets at the store on sale. But, I am so broke I was only able to afford the red sprinkles Matthew (my little brother) requested. I had planned to make cupcakes but I had a hunch that some kids might not even touch the tray that holds the cupcakes considering it's not pretty looking or anything. I was going to decorate it and all but I figured I might as well just make some cookies.

I make the best snickerdoodles when I don't forget the recipe. Unfortunately, I forgot it, so the first batch was aweful. Note to self and those who read this, There's a reason why butter is used for cookies and cakes, it works better than olive oil. So, don't use olive oil. The first batch was a disaster but I redeemed myself on the second one. I just stayed up really late to make them.

I have to say, I know cakes and cookies often time have ingredients like baking powder or soda but with this cookie, I don't bother to put that in. I just put all the ingredients that are listed below and cook for exactly 8 minutes. The cookies come out soft and delicious without having to worry if I incorporated the baking powder well enough.

Snickerdoodles


1 cup butter
1 1/2 cup sugar
2 eggs
2 tsp vanilla extract
2 3/4 cups all purpose flour
1/4 tsp salt

Cinnamon sugar mixture

3 tbsp cinnamon
3 tbsp sugar

Combine and set aside. Add more as you go along if necessary. You can add but you can't really remove.

Preheat oven at 400 degrees F.

For the snickerdoodles, cream sugar and butter until smooth. Add vanilla extract and eggs. I add the salt to the flour and mix. Then I add the flour mixture to wet mixture until the flour is incorporated.

Use a spoon and drop circular-like sized batter into the cinnamon sugar mixture and roll until well coated. They don't have to be perfect, personally, the more they look like they were homemade, the better. Place straight to a pan lined with parchment paper. Bake for EXACTLY 8 mins. No more, no less.


Note: I used 2 types of pan, a thin pizza pan and a thick cake pan. The cookies seem to spread out more when using the thin pizza pan. The cookies also look fluffier and softer.

Monday, February 8, 2010

Irish Cream Cake


Do you know how much I love to cook? Too much. I have a French exam tomorrow, a couple of readings and a video to watch for my English class. But, instead of studying, here I am blogging. I just have to blog about this cake I made out on a whim.

I call it "awesome cake". Hahaha, maybe not. I'll probably just call it Irish Cream cake because of the Irish Cream Bailey's in it. Well anyways, here it goes.

Irish Cream Cake

1 box of SuperMoist Butter Yellow or Yellow Cake mix.
1/2 cup of olive oil
1/2 cup of water
1/2 cup of Irish Cream Baileys.
3 small eggs

Preheat the oven to 350*.

Take the water and mix the Irish Cream Baileys. Mix that mixture into the cake mix and add the olive oil. Put the eggs in one by one and beat until smooth.

The mixture was a little thick so I added a quick splash of Irish Cream Baileys. Using a 1/4 measuring cup, roughly put in some batter into the cupcake pan.

Place in the oven and cook until when a toothpick is inserted, it comes out clean.

Note: If you take a look at the picture at the bottom, this cake is deflated in the middle. I trully believe that the reason for this is because I used 2 (two) small eggs instead of 3. So, don't forget to use 3 small eggs or 2 big eggs.

Wednesday, September 16, 2009

Cream Cheese Flan


For my mother's birthday, we cooked all sorts of meat. Chicken, ribs, fish and even pork for the stew. Me and Nathan, my best friend, had agreed that I would cook all the meat dishes and he would cook the dessert, flan. To make a long story, short, he brought flan that sucked! It seemed like both the syrup and the flan itself was watered down. Everybody, including my mother and my aunt jokingly teased him about his flan except for me. I just told him the cringing truth that he should have tasted the flan first before he brought it to my house. It was ever more dissapointing then the flan he made before that.
The very next day, to redeem himself, I demanded that he show me how to make flan so that we had some type of dessert. It was the best flan I had ever eaten. Did I mention this was the first time I made flan. Even though it was through the guide of Nathan, I had commited some acts that help enhance the flavor of the flan. I stirred it by hand rather than using a mixer. This prevented air bubbles from forming in the batter making it thicker rather than lighter. I believe this was the key in making a very good flan. Anyways, try this recipe and let me know what you think.

Cream Cheese Flan

1 (8 ounce) pack of softened cream cheese
1 (12 ounce) can of evaporated milk
1 (14 ounce) can of condensed milk
3 large eggs
2 tsp. vanilla extract

1 1/2 cup sugar (for the caramel)

Heat up enough water for the water bath that will be used to place the container with the caramel and flan mixture. NOTE: You will need two pans. The outer one must be large enough to accommodate the smaller container that should hold the flan. Make sure you also boil enough water to level the batter in the pan.

Preheat the oven at 350*.

Place the cream cheese in a bowl and add the eggs one by one. Add the condensed milk slowly and make sure the batter is smooth. Finish it off by adding the evaporated milk, slow ass well, and do not forget to make sure the batter is smooth.

Make the caramel by cooking the sugar. Don't be afraid of the sugar and high heat. As the sugar begins to caramelize, it will go brown really quickly so make sure you you have the pan that you will use for the flan mixture. A golden brown sugar should be the right color. Put the caramel quickly into the pan and using an oven mitten, coat the bottom and let cool for about 5 minutes. Once the caramel is set, strain the batter into the pan. Put a foil over the pan.

Pour water into the larger pan and keep in mind that you will put the flan mixture so don't overfill with water. Place into the oven and cook for exactly 1 (one) hour. Don't open the oven until one hour is up.


Bon appétit!